By using Nagpuri Lightroom Presets, you can make your simple photos look very beautiful. When I first started editing, it took me a long time. I have learned many things by doing photo editing for many years. Today, I will share all my experience with you so you can edit very easily. Many times, we take photos with much effort, but the photos do not look good because the colors are not nice. This is your biggest problem. I will give you the solution to this problem today.
I have made some presets that will change the look of your photo in just one click. If you use this way, you do not have to waste hours and hours of time. You can do this work on your phone very easily. So, let us not be late and let me teach you everything step by step. I use these ways myself and they really work. If you read this article until the end, you will also become an expert. I will explain everything in small parts, so you do not have any trouble understanding.
What is Nagpuri Lightroom Presets?
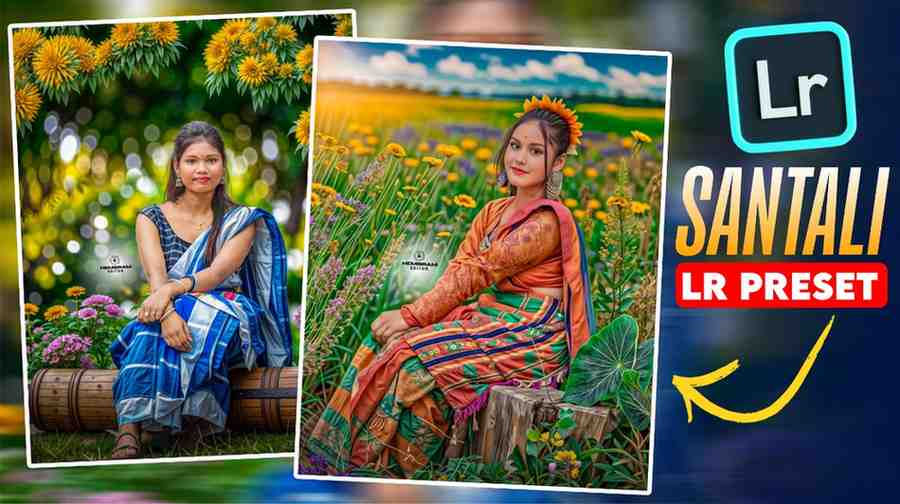
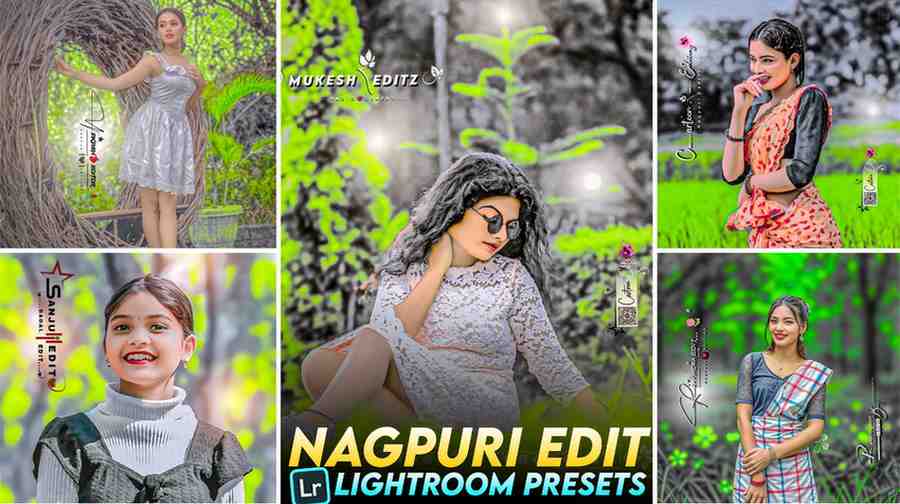
Nagpuri photo editing has become very popular everywhere now. Especially people from Jharkhand area like this style more. Now, you can see these types of photos as soon as you open Facebook and Instagram. In these photos, the background stays a bit dark or grey. In the middle of that, there is a touch of yellow or green color in some places. This play of colors makes the photo much more beautiful and different. I was surprised when I first saw this style.
I have tried to do this editing many times myself. It takes a lot of time to do these manually using the masking tool of the Lightroom app. This is a very difficult task for those who are editing new photos. But I have made something for you that will make your work easy. These special color tones will bring a new life to your photos. When you show such photos to your friends, they will be surprised. They will think you might have paid a lot of money to get these photos edited.
The main magic of this editing is the correct use of color. In my 10 years of experience, I have seen that people always look for something new. This Nagpuri style is just such a new thing. It catches the eye much more than simple editing. In the next part, we will know why you need this preset very much. If you do not know this, you might miss the real fun of editing. So, let us talk about the next topic.
Why You Need Nagpuri Presets for Your Photos
It is very important to understand why you need these special sets for your photos. Suppose you took a photo with a pose with much effort. But there is something in the background of that photo that does not look good. Or there is no correct brightness in your photo. In all these cases, these tools will help you. When I do a lot of work myself, I have very little time in my hands. Then I use these small tricks which make the work much faster.
It takes a lot of time to learn editing by hand using the Lightroom app. If you do not have experience for many days, you will not be able to match the correct colors. In some places, the yellow color might become too much or in some places, the green color might become too much. It is a very difficult task to keep this balance. I have worked on this problem for a long time. I have seen that common people want to get the best results in less time. So, I have made these keeping your convenience in mind.
This special editing style will make your social media profile much more beautiful. People will start to like and comment on your photos. The quality of your photos will become much better than before. You will be able to see this change with your own eyes. You do not need an expensive camera for this. You can make photos taken with a simple phone great too. But before starting all this, you must check if your phone is ready. I have discussed the system in the next heading.
System Requirements for Lightroom Mobile
To do this editing, you must have the Lightroom mobile app on your phone. It works well on all phones. However, it will be easier to work if the RAM of your phone is a bit more. When I work, I see that the app works fast if the phone space is empty. it is good to keep at least 2 GB of empty space on your phone. This does not ruin the quality of photos and you can work smoothly.
Try to keep the Android or iOS version of your phone latest. Many times, new tools do not work correctly on old phones. I have seen many times that the phone hangs while trying to use the masking tool on old phones. So, if your phone is updated, you will have much fun doing your work. Your internet connection must also be a bit good so you can use the files correctly.
I always say that work becomes very easy if the tools are good. If you have a good phone, you can do professional level work. Do not keep any other big app running on the phone while editing. This will allow the Lightroom app to use all its power. Now we will know from where you can get these special Nagpuri files. This step is the most important because you cannot start editing without this.
How to Get Nagpuri Lightroom Presets
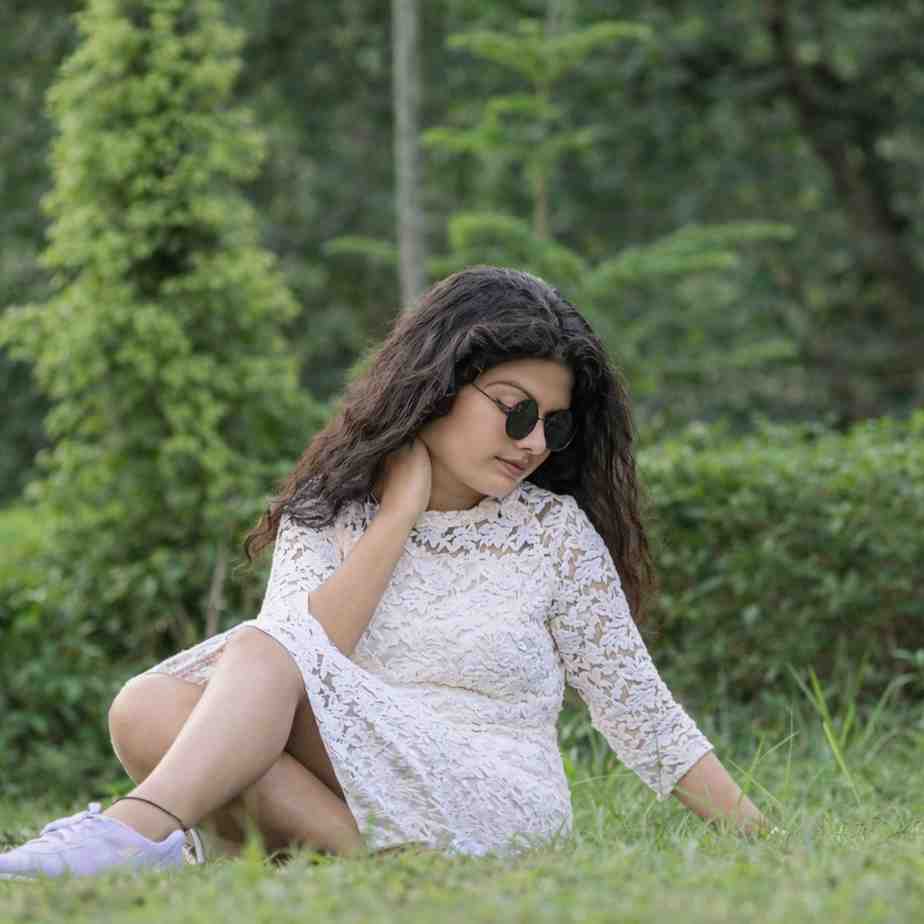
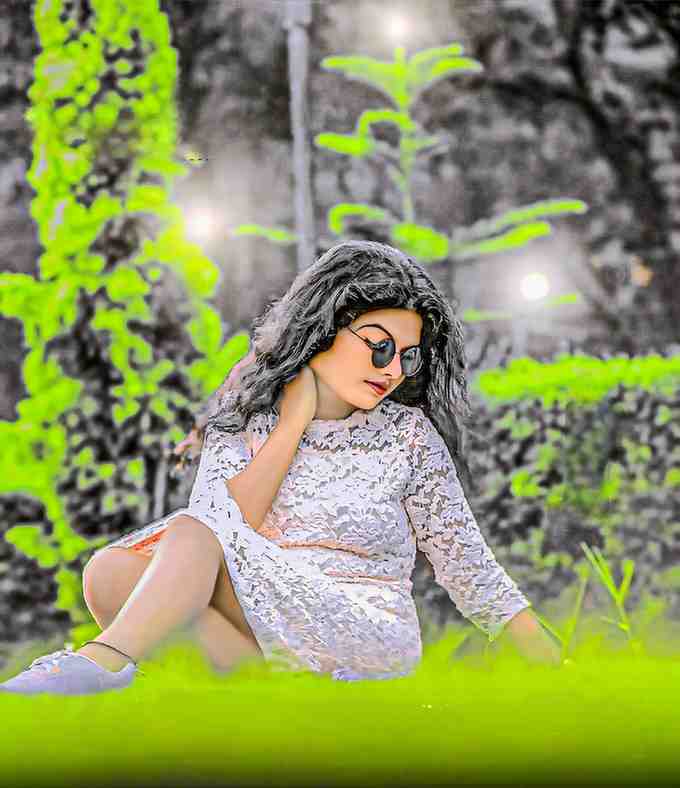
It is very easy to collect these special files. You might be thinking where these can be found. I have given some wonderful photo samples in the middle of this article. You will see there that the before and after state of the photos is shown. By seeing this, you can understand how your photo can be. You will find a button or link just below that photo. From there, you can take these files to yourself very easily.
When I made these files, I tested them with many photos. I wanted you to get the best file. Without this file, your reading of this whole article will be useless. Because this is what will make all your work easy. If you do not get this, you will have to work manually which is very painful. I do not want you to work so hard. So, you collect this file very carefully.
After getting the file, keep it organized in a specific folder on the phone. I always keep my necessary things separate so it is easy to find later. If you have this file, you can edit your photo in just a few seconds. Then a question might come to your mind about how to use this file in the app. I have written all that below step by step. Let us see the rules of use.
How to Use DNG Presets in Lightroom Mobile
I will teach you how this works. It is very easy to use just like you play games on mobile. I have faced problems doing this many times, but I have found a very easy method for you. For this, you just have to follow a few steps. Once you learn, you will feel that it is working like magic. No one will even believe that you have made this photo in such a short time.
Step 1 Open Lightroom App
First, open the Lightroom app on your phone. If the app is not there, then get it from the store. After opening the app, login there with your own account. When I did it for the first time, I could not understand where to go. But now it is as easy as water to me. When you also do it a few times, it will also seem very easy to you.
Step 2 Import DNG File
Now you have to bring the file that you have collected inside the app. For this, press the plus sign or add photo button. Choose that special photo from your gallery. This photo looks like a simple photo, but all the editing is hidden inside it. It might take a few seconds to be added to the app. Have some patience because you have to wait a bit for good things.
Step 3 Copy Settings
Now the real work will start. Click on that special photo and open it big. You will see three small dots or menu button in the top corner. If you click there, an option named copy settings will come. If you press that option, you will see many boxes showing. Put a tick mark on all of them and click okay. As a result, all the magic of that photo will now come to your hand.
Step 4 Paste Settings on Your Photo
Finally, open the photo that you want to edit in the app. Click on those three dots again. Now you have to press the paste settings option. You will see that the color of your photo has changed immediately. This will change everything in front of your eyes just like magic. Your simple photo has now turned into a wonderful Nagpuri style photo.
Features of Nagpuri Style Presets
This style has many special qualities that make it different from others. The biggest feature of it is the color of its background. This creates a mysterious look that people want to see again and again after seeing once. When I work in this style, I think a lot about the balance of colors. The brightness of colors is kept in such a way so that your skin or face looks natural. Nothing will feel extra.
The mix of colors is very wonderful in this preset. There is a touch of yellow in some places and a touch of green in some places. This messy play of colors takes the photo to a completely different height. It makes the details or small things of your photo more clear. The dark places of the photo become a bit grey which looks very trendy. if you use this tool, a professional feel will come in your photo.
I have fixed these color tones after much research. I have seen which colors give peace to the eyes of people. This Nagpuri style is just like that. It brings out the subject of your photo much more. If you use it once, you will want to use only this again and again. Through this, you can create a separate identity of your own. Now let us come to the end of the discussion.
Conclusion
In this complete article, we learned how to make wonderful photos using Nagpuri Lightroom Presets. I have explained everything to you just like a small child so you do not have any questions in your mind. The methods I told you are being used by me for a long time. If you also follow these rules, your photo will be very beautiful. If you have anything more to know about your editing, then definitely let me know. In this way, we will learn all new works and take ourselves forward. Good editing always shows your creativity to people. So, practice regularly and try new styles. May your editing journey be very beautiful. Thank you.